
The Best Fluffy Pancakes recipe you will fall in love with. Full of tips and tricks to help you make the best pancakes.

Few dishes can steal the show at a dinner table quite like a chicken dum biryani. Fragrant long-grain basmati rice, tender pieces of spice-marinated chicken, crispy fried onions, and the unmistakable aroma of saffron rising in steam when the lid comes off — this is comfort food elevated to an art form. In this guide, you’ll learn how to make an authentic chicken dum biryani recipe at home, step by step, with pro tips that guarantee fluffy, separate grains and juicy chicken every single time.
What Is Chicken Dum Biryani?
“Dum” comes from the Persian word for steam, and it describes the slow-steaming technique at the heart of this dish: marinated chicken and parboiled rice are layered in a heavy pot, sealed tight, and cooked on gentle heat so the flavors meld together in trapped steam. Biryani itself traces its roots to the Mughal era, when Persian cooking techniques met the rich spice palette of the Indian subcontinent — you can read more about its fascinating history on Wikipedia’s biryani page.
Today, biryani is beloved across Pakistan, India, Bangladesh, and far beyond — and once you master the dum technique, you’ll understand why.
Popular Types of Biryani You Should Know
Before we cook, it helps to know the landscape. The most famous regional styles include:
- Hyderabadi Dum Biryani: raw marinated chicken layered with rice and cooked entirely on dum (kacchi style) — intensely aromatic.
- Lucknowi (Awadhi) Biryani: chicken and rice cooked separately, then layered and steamed (pakki style) — delicate and fragrant.
- Kolkata Biryani: lighter on spice, famous for its addition of potatoes and boiled eggs.
- Sindhi Biryani: tangy and bold, with tomatoes, potatoes, and dried plums.
- Malabar Biryani: from Kerala, made with short-grain kaima rice and a distinctive sweet-savory profile.
This recipe follows the pakki-style dum method — the most reliable way to get perfect results at home.
Ingredients for Chicken Dum Biryani
Serves 6. Gather everything before you start — biryani rewards good prep.
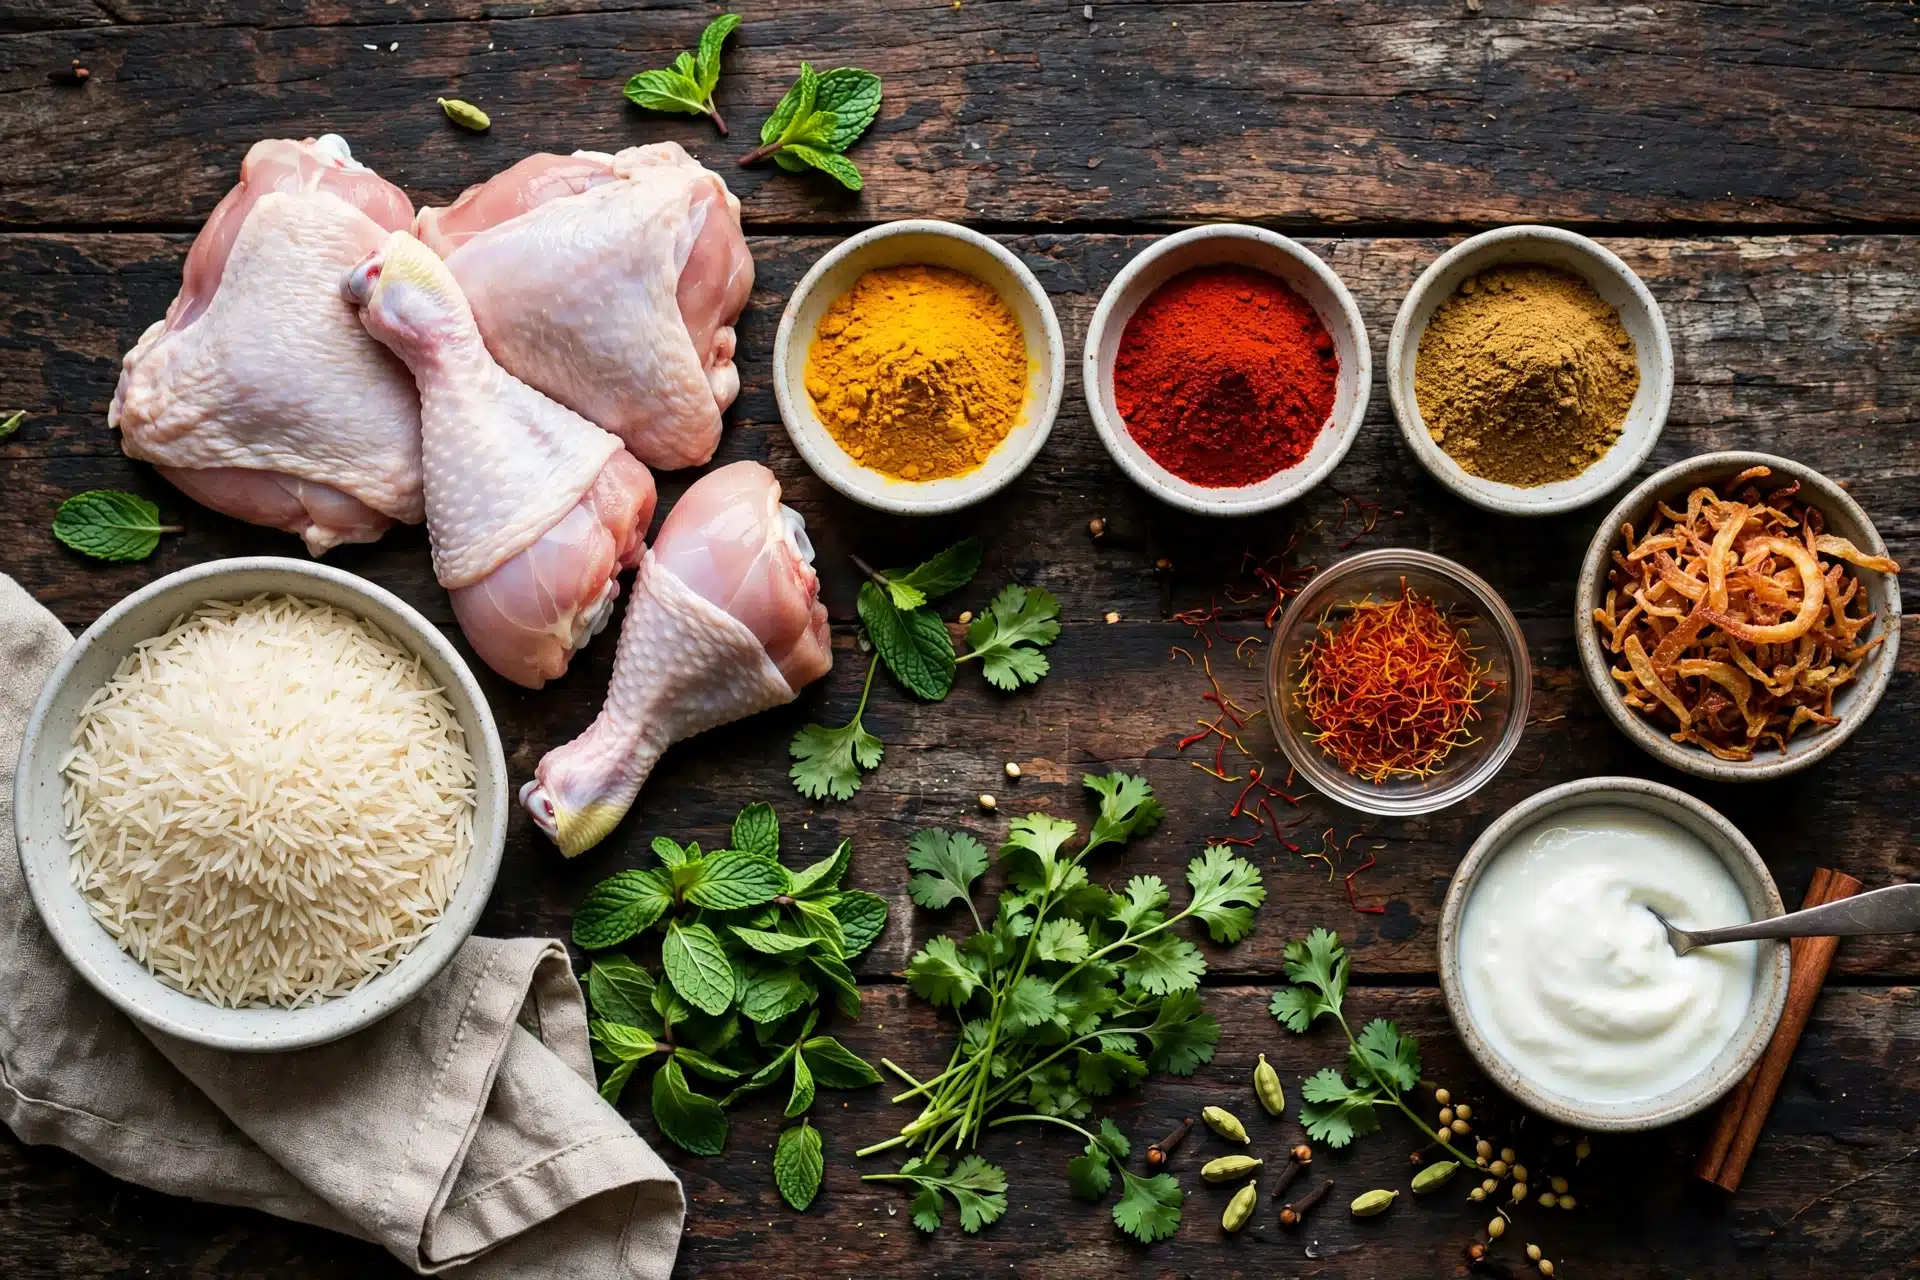
For the chicken marinade:
- 1 kg chicken, bone-in pieces (legs and thighs work best)
- 1 cup plain yogurt, whisked
- 2 tbsp ginger-garlic paste
- 2 tsp red chili powder
- 1 tsp turmeric powder
- 2 tsp garam masala or biryani masala
- 2 tbsp lemon juice
- Salt to taste
For the rice:
- 3 cups aged basmati rice, soaked 30 minutes
- 1 bay leaf, 4 green cardamoms, 4 cloves, 1-inch cinnamon stick
- 2 tbsp salt (the boiling water should taste like the sea)
For layering:
- 3 large onions, thinly sliced and fried golden (birista)
- 1/2 cup chopped mint leaves
- 1/2 cup chopped coriander leaves
- A pinch of saffron soaked in 3 tbsp warm milk
- 3 tbsp ghee — homemade makes all the difference (see our guide on homemade ghee vs store-bought)
- 4-5 green chilies, slit
How to Make Chicken Dum Biryani: Step-by-Step
Step 1: Marinate the Chicken
Combine the chicken with all marinade ingredients in a large bowl. Mix well, cover, and refrigerate for at least 1 hour — overnight is even better. This is where the deep flavor comes from, so don’t rush it.
Step 2: Parboil the Basmati Rice
Bring a large pot of water to a rolling boil with the salt and whole spices. Add the drained rice and cook for exactly 5-6 minutes, until the grains are about 70% cooked — firm in the center when you bite one. Drain immediately. This is the single most important step: fully cooked rice turns mushy on dum.
Step 3: Cook the Chicken Masala
Heat 3 tbsp oil or ghee in a heavy-bottomed pot (a dutch oven is ideal). Add the marinated chicken and cook on medium-high for 5 minutes to seal, then cover and cook on medium-low for 12-15 minutes until the chicken is nearly done and the oil separates from the masala.
Step 4: Layer the Biryani
Over the chicken, layer in this order: half the parboiled rice, half the fried onions, mint, coriander, and saffron milk. Repeat with the remaining rice and toppings. Drizzle the ghee over the top and tuck in the green chilies.
Step 5: The Dum (Steam) Cooking
Cover the pot with a tight-fitting lid — seal the rim with atta dough or a damp kitchen cloth for a proper seal. Cook on high heat for 3-4 minutes, then reduce to the lowest possible flame for 20-25 minutes. Turn off the heat and rest, still covered, for 10 minutes. Open, fluff gently with a fork, and serve.
Pro Tips for the Perfect Biryani
- Use aged basmati rice — it gives longer, fluffier, non-sticky grains.
- Never skip the resting time. It lets the steam redistribute so every grain stays separate.
- Salt the rice water generously. Under-salted rice can’t be fixed later — though if you overshoot, our kitchen hacks for fixing salty food can save the day.
- Keep the flame truly low on dum. A diffuser or tawa under the pot prevents the bottom layer from scorching.
- Dig deep when serving — scoop from the bottom so everyone gets chicken, rice, and crispy bits.
What to Serve with Chicken Biryani
Biryani is a complete meal, but the classic accompaniments take it further: cool cucumber raita, kachumber salad, and mirchi ka salan. Planning a full dawat? Pair it with our Indian butter chicken for a spread your guests won’t forget.
Storing and Reheating Leftover Biryani
Cool leftovers within an hour and refrigerate in an airtight container for up to 3 days. To reheat, sprinkle a tablespoon of water over the rice and warm covered on low heat or in the microwave — it steams back to life beautifully. For more, see our guide on how to store food properly to keep it fresh longer.
Watch: Step-by-Step Video Tutorial
Prefer to watch and cook along? This detailed video walks through the entire dum biryani process:
Frequently Asked Questions
What is the difference between kacchi and pakki biryani?
In kacchi biryani, raw marinated meat is layered with rice and everything cooks together on dum. In pakki biryani (this recipe), the chicken and rice are cooked separately first, then layered and steamed — more forgiving for home cooks.
Can I use boneless chicken?
You can, but bone-in pieces stay juicier during the long cooking and add richness to the masala. If using boneless, reduce the masala cooking time slightly.
Why did my biryani turn out mushy?
Almost always overcooked rice. Parboil to 70% only, and make sure your dum flame is truly low.
Can I make biryani ahead of time?
Yes — marinate the chicken overnight and fry the onions a day ahead. Assemble and dum-cook just before serving for the best aroma.
Final Thoughts
Homemade chicken dum biryani is absolutely worth the effort. Once you nail the 70% rice rule and the low-and-slow dum, you’ll never look at takeout the same way again. Try this chicken dum biryani recipe this weekend, and let us know in the comments how your layers turned out!
Chicken Dum Biryani
Fragrant basmati rice layered with tender spiced chicken, slow-cooked on dum for an irresistible aroma. A showstopper that's surprisingly easy at home.
Ingredients
Method
- Marinate the Chicken: Combine the chicken with all marinade ingredients in a large bowl. Mix well, cover, and refrigerate for at least 1 hour — overnight is even better.
- Parboil the Basmati Rice: Bring a large pot of water to a rolling boil with the salt and whole spices. Add the drained rice and cook for exactly 5-6 minutes, until the grains are about 70% cooked. Drain immediately.
- Cook the Chicken Masala: Heat 3 tbsp oil or ghee in a heavy-bottomed pot. Add the marinated chicken and cook on medium-high for 5 minutes to seal, then cover and cook on medium-low for 12-15 minutes until the chicken is nearly done.
- Layer the Biryani: Over the chicken, layer half the parboiled rice, half the fried onions, mint, coriander, and saffron milk. Repeat with remaining rice and toppings. Drizzle ghee over the top and tuck in green chilies.
- The Dum Cooking: Cover with a tight lid and seal the rim. Cook on high heat for 3-4 minutes, then reduce to the lowest flame for 20-25 minutes. Rest covered for 10 minutes. Fluff with a fork and serve.
